
One of the most common questions Bond’s customer service team gets is how to finish or bind a carpet project. For many types of rugs, including custom pieces or carpet remnants, the answer is simple: use Instabind. But when it comes to how to bind a latch hook rug, the process is a little different. There are at least two good methods to bind a latch hook rug, and we’ll walk you through both options below.
Latch Hook Rugs: A Fun and Creative Project
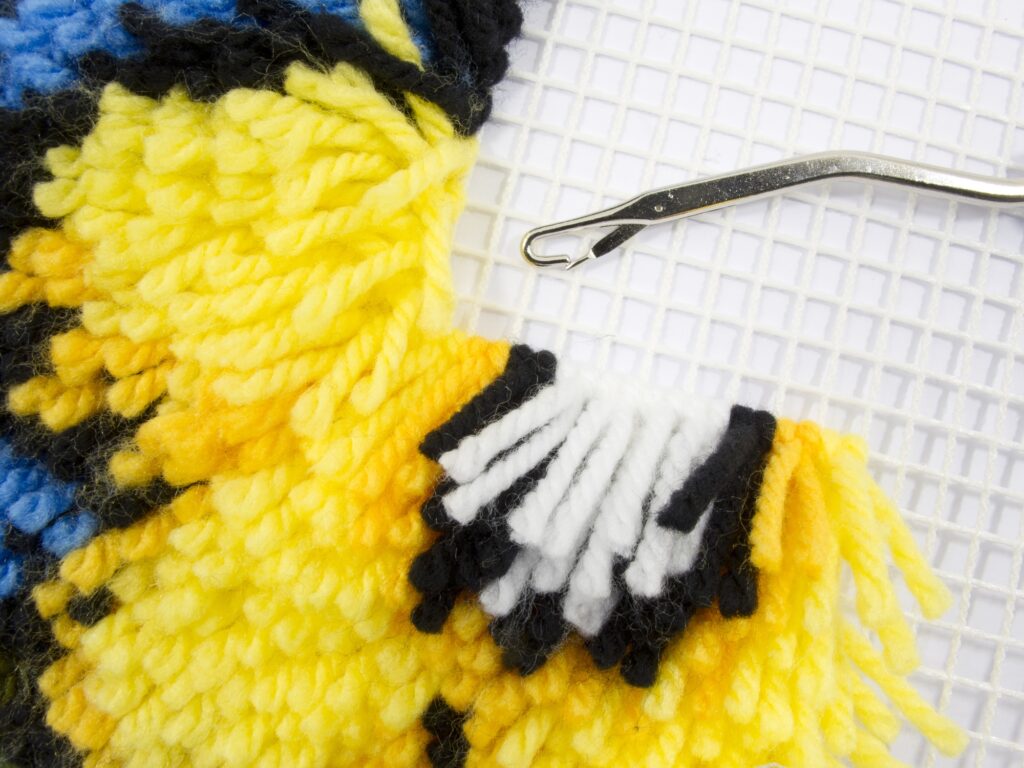
Making a latch hook rug is a fun and beginner-friendly way to get into rug crafting. It’s a creative project suitable for all ages, even young children. Once the design is complete and the yarn has been hooked, it’s time to bind the edges to give your rug a clean, finished look.
Option 1: Hand Sewn Method for Binding a Latch Hook Rug
One way to bind a latch hook rug is to hand sew the edges. This method gives your rug a sturdy edge and keeps the focus on the yarn itself.
What You’ll Need:
- Latch hook rug with completed design
- Scissors
- Tapestry needle
- Yarn or strong thread
Step-by-Step Instructions:
- Prepare the Edges: Most latch hook kits leave about one inch of blank rug canvas around the edges. Fold that inch toward the back of the rug.
- Thread and Stitch: Thread your tapestry needle with yarn or durable thread and, using a whip stitch, sew the folded rug canvas to the back of the project at the edges.
- Handle Corners: At each corner, trim away any overlapping canvas to avoid bulk and continue stitching smoothly around.
- Secure the Finish: Once all four edges are sewn down, tie a strong knot in your thread or yarn.
While this method is simple and effective, it may not look as clean as a tape-bound rug, especially if your yarn is long or shaggy, as it will naturally hide the sewn edges from view.
Option 2: Binding a Latch Hook Rug with Binding Tape
Want a more polished, professional-looking finish? Binding tape is the way to go.
What You’ll Need:
- Binding tape (choose a color that complements your rug)
- Sewing machine
- Pins
- Needle and thread for hand sewing
Step-by-Step Instructions:
- Trim the Canvas: Leave two full grid squares (about ½ inch) of canvas around the edge of your design.
- Attach Binding Tape: Lay the binding tape along the edge of the rug, as close as possible to the hooked design. Pin it in place.
- Sew Each Side: Using a sewing machine, stitch the tape securely to the canvas edge. Repeat this process with a new tape strip for each side of the rug.
- Fold and Finish: Fold the loose edge of the tape under the rug to cover the raw canvas. Pin and then hand sew it in place using an overcast stitch.
- Tie Off: Secure your stitches with a tight knot when finished.
This method gives your latch hook rug a crisp, tailored edge and protects it from unraveling over time.
Final Touches: Backing Options for Rug Protection
Once your latch hook rug is fully bound, it’s ready to be displayed as a wall hanging or used on the floor. If you’re placing it on a hard surface, consider using one of Bond’s rug backing products. These help protect your floors from scratches and prevent the rug from slipping, which is especially important in high-traffic areas.
Whether you’re crafting for fun or creating a long-lasting piece for your home, taking the time to bind your rug properly makes all the difference. Enjoy your beautiful, custom-made latch hook rug!