While it would be great to install one piece of carpet in a room, avoiding any seaming, in most cases, this is not possible. Fortunately, correctly seaming carpet using carpet seam tape can produce the same seamless effect. Here’s how you go about achieving it.
Unroll the carpet in the room you will install it. Measure the width of the piece that you will need to add to the main piece in order to fully carpet the room. It’s important to measure in more than one place along the length of the room. Some buildings aren’t really square, and you know the saying, “Measure twice, cut once.” It doesn’t just apply to wood.
With a carpet cutter or utility knife, trim the edge of your carpet against a straight edge, carefully measuring as you cut. If you do not do this correctly, your finished seam may show. When cut right, your carpet pieces will both have a straight, smooth edge on them, and they will fit together perfectly. Make sure the nap of the carpet on both pieces is going in the same direction, and then you can insert the seam tape.
 Cut the carpet seam tape to the length of the cut seam and place it centered under the two cut edges with the adhesive facing up. The seam tape is marked to make this easier.
Prior to heat seaming, using a seam sealing latex. As the CRI Carpet Installation Standard states, “most carpet requires an edge protective material be introduced between the edges to be joined…Failure to properly prepare seam edges often results in: edge ravel, edge delamination, tuft loss, seam separation, safety concerns.”
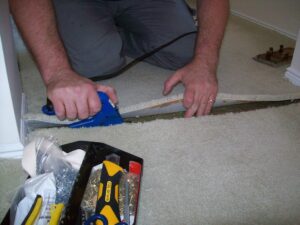
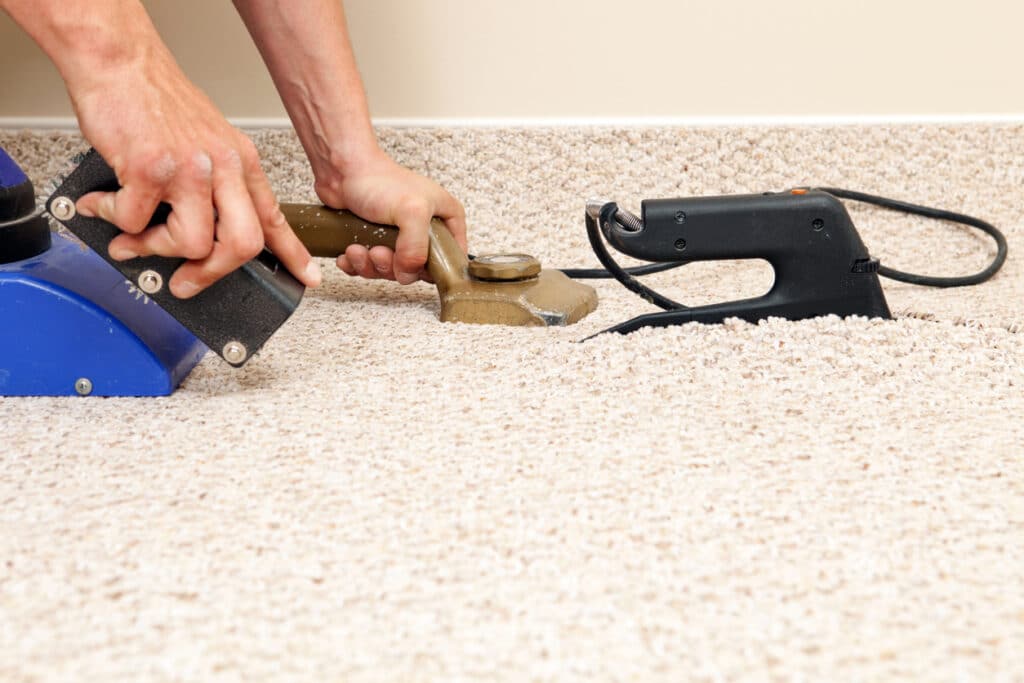
After you have sealed the seam, pull back the carpet and put your pre-heated seaming iron down on the tape. When the glue on the tape has warmed and is starting to bead, press the two sections of the carpet back down on that section of the tape, slowly moving the seaming iron forward to heat the next section. Make sure the backing of the two pieces of carpet you are connecting are exactly together, tightly.
Use a carpet tractor or a weighted object to push the melted glue into the grid backing of the carpet so it will fully adhere to the tape. Repeat these steps along the entire length of the carpet until it is fully seamed. Allow the glue on the tape to fully cool before you move the carpet into position for its final installation. Smooth the surface of the seamed pieces with your hands and trim off any stray pieces of string or carpet fibers. Unplug your seaming iron and clean it with a piece of scrap carpeting.
Following these instructions should result in a nice uniform looking piece of carpet. Connecting carpet seams in the direction of the primary light source of the room will also help hide the seam visually.
Bond Products offers everything a DIY weekend project warrior or a professional installer will need for seaming and carpet installation. If you need staples, staple guns, mallets, mallet caps, L-cleats, or finish nails for your flooring project, shop our Pro Drive HD™ line of supplies. Let us help you find and purchase the right items for your job!


