
Spring and fall are great times to clean and refresh your home. While you’re deep-cleaning your carpet and your rugs, don’t forget to inspect them. If you notice fraying or worn edges, it might be time for a simple DIY carpet repair. One of the easiest ways to replace carpet edging and bring new life to your rugs is by using Instabind.
Here’s everything you need to know about how to replace carpet edging with Instabind, a fast, affordable, and professional-looking solution.
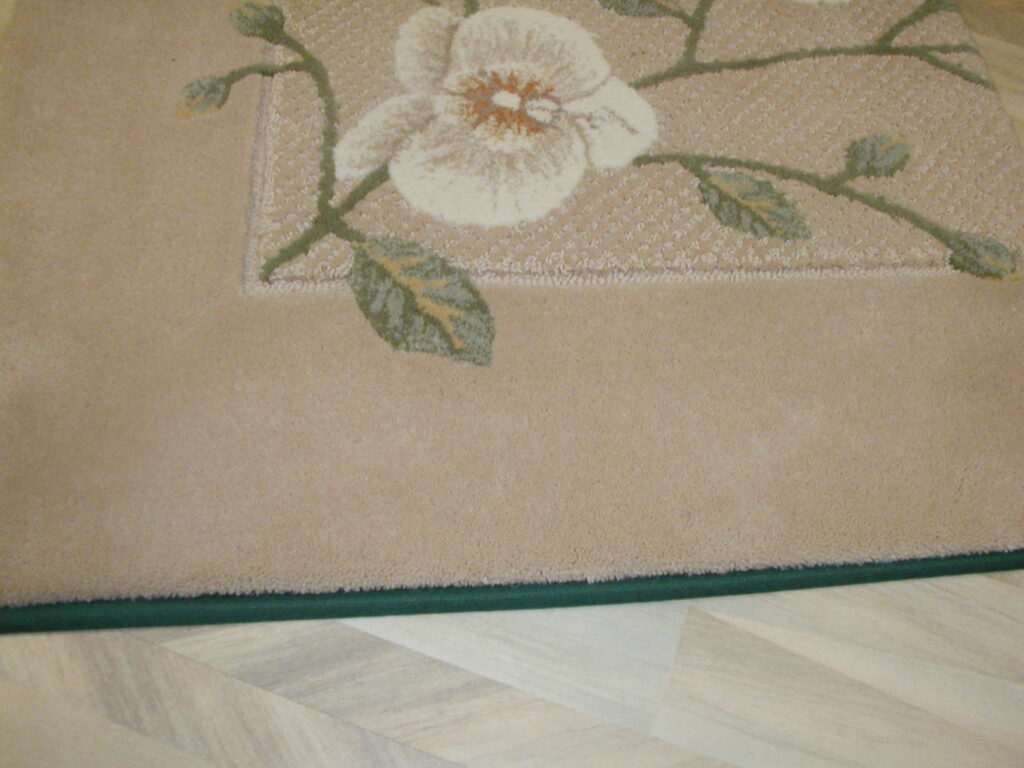
Why Carpet Binding Matters
Most people notice a rug’s pattern, material, or color first, but the binding is what gives the rug a clean, finished look. When edges are dirty, frayed, or damaged, the entire carpet looks tired and neglected. Fortunately, you can dramatically improve the look of your rug by reapplying a fresh binding, and Instabind makes the job simple enough to do yourself.
What You’ll Need
To apply Instabind, gather the following tools:
- A hot glue gun
- Glue sticks
- Scissors
- Clear tape
Step-by-Step Guide to Installing Instabind
1. Measure the Edge
Determine the total length of carpet edge you want to replace. This helps you calculate how much Instabind to order.
2. Choose Your Instabind Style
Instabind comes in a wide range of colors and nine different styles to suit various carpet types and aesthetics:
- Regular
- Cotton
- Cotton Serge
- Synthetic Serge
- Faux Leather
- Rope Edge
- Outdoor Marine
- Safety Edge
- Fringe
Pick the Instabind style that best matches your rug’s material and purpose.
3. Prepare the Carpet Edge
Before applying the binding, remove any old carpet edge or trim. Use your scissors to cut away loose threads and straighten the edge. A clean and even surface will ensure a better bond.
4. Apply the Instabind Tape
Peel back the adhesive liner from the Instabind and stick it along the trimmed carpet edge. Start in the center of one edge and press firmly.
- Extend the Instabind past corners, and use the corner as a guide to make small snips along the flat portion without cutting through the piping.
- At corners, turn the tape back slightly and overlap the backing for a snug fit.
- Continue around the entire carpet, returning to your starting point. Use this point as your guide to make the finishing cut. Trim any excess material or strings.
5. Secure with Hot Glue
Add a bead of hot glue where the beginning and end of the Instabind meet.
- Apply a thin (⅛ inch) bead of glue between the edge of the Instabind and the carpet.
- Hold in place for a few seconds until the glue sets.
- Continue this gluing process around the entire carpet.
6. Trim the Excess
If any tape extends beyond the edge, trim it cleanly at a 45-degree angle using sharp scissors. This will help your carpet or rug look neat and professional.
That’s it! Your Instabind is applied, and you can return your refurbished rug to its original place in your home.
Why Choose Instabind for Carpet Edge Repair?
Instabind is one of the most popular carpet binding solutions because it offers:
- A DIY-friendly application process
- A durable finish that helps prevent fraying
- A wide variety of styles for different carpet types
- A cost-effective alternative to professional re-binding services
Order Instabind from Bond Products
Using Instabind, you can easily refresh worn rugs and extend their lifespan with minimal cost. If you’re ready to take on this DIY carpet binding project, call Bond Products at 1-888-800-BOND. Our team can help you choose the right style and tools for your needs.